PiWare

Hello, Raspberry Pi
Welcome to the Raspberry Pi, a small, powerful and versatile single-board computer. This series of articles will be taking you through the setup of the Raspberry Pi and give some example use cases.

Note: This guide will be based on the Raspberry Pi 4 Model B, and thus may not apply to all of the different models. If you are using a Raspberry Pi 3B or 3B+, you should be fine following these instructions.

The Brains of the Pi
The Raspberry Pi 4 runs a 64 bit Quad-core ARM Cortex-A72 clocked at 1.5Ghz. In case you don’t know what this means, it means it is has chip with a very similar architecture to a lot of powerful devices, such as mobile phones and tablets, TVs, and even some newer computers such as the Apple M1 series of products. The reason the architecture is so popular in these devices is because of its low power consumption, which is great for low powered applications or devices that run on battery. This is another great thing about the Pi, it is a very low powered device, which is why it requires no active cooling.

A look at the Pi
Having a look at the Pi, we can see a wide range of ports on it. On the Pi, there are the following ports:
  • USB Type C for Power
  • 2x Micro HDMI for Display Output
  • 3.5mm Stereo Audio and Composite Video Out
  • Gigabit Ethernet Port
  • 4x USB Ports (2 of which are USB 3.0)
Image of the front of the Pi Image of the side of the Pi

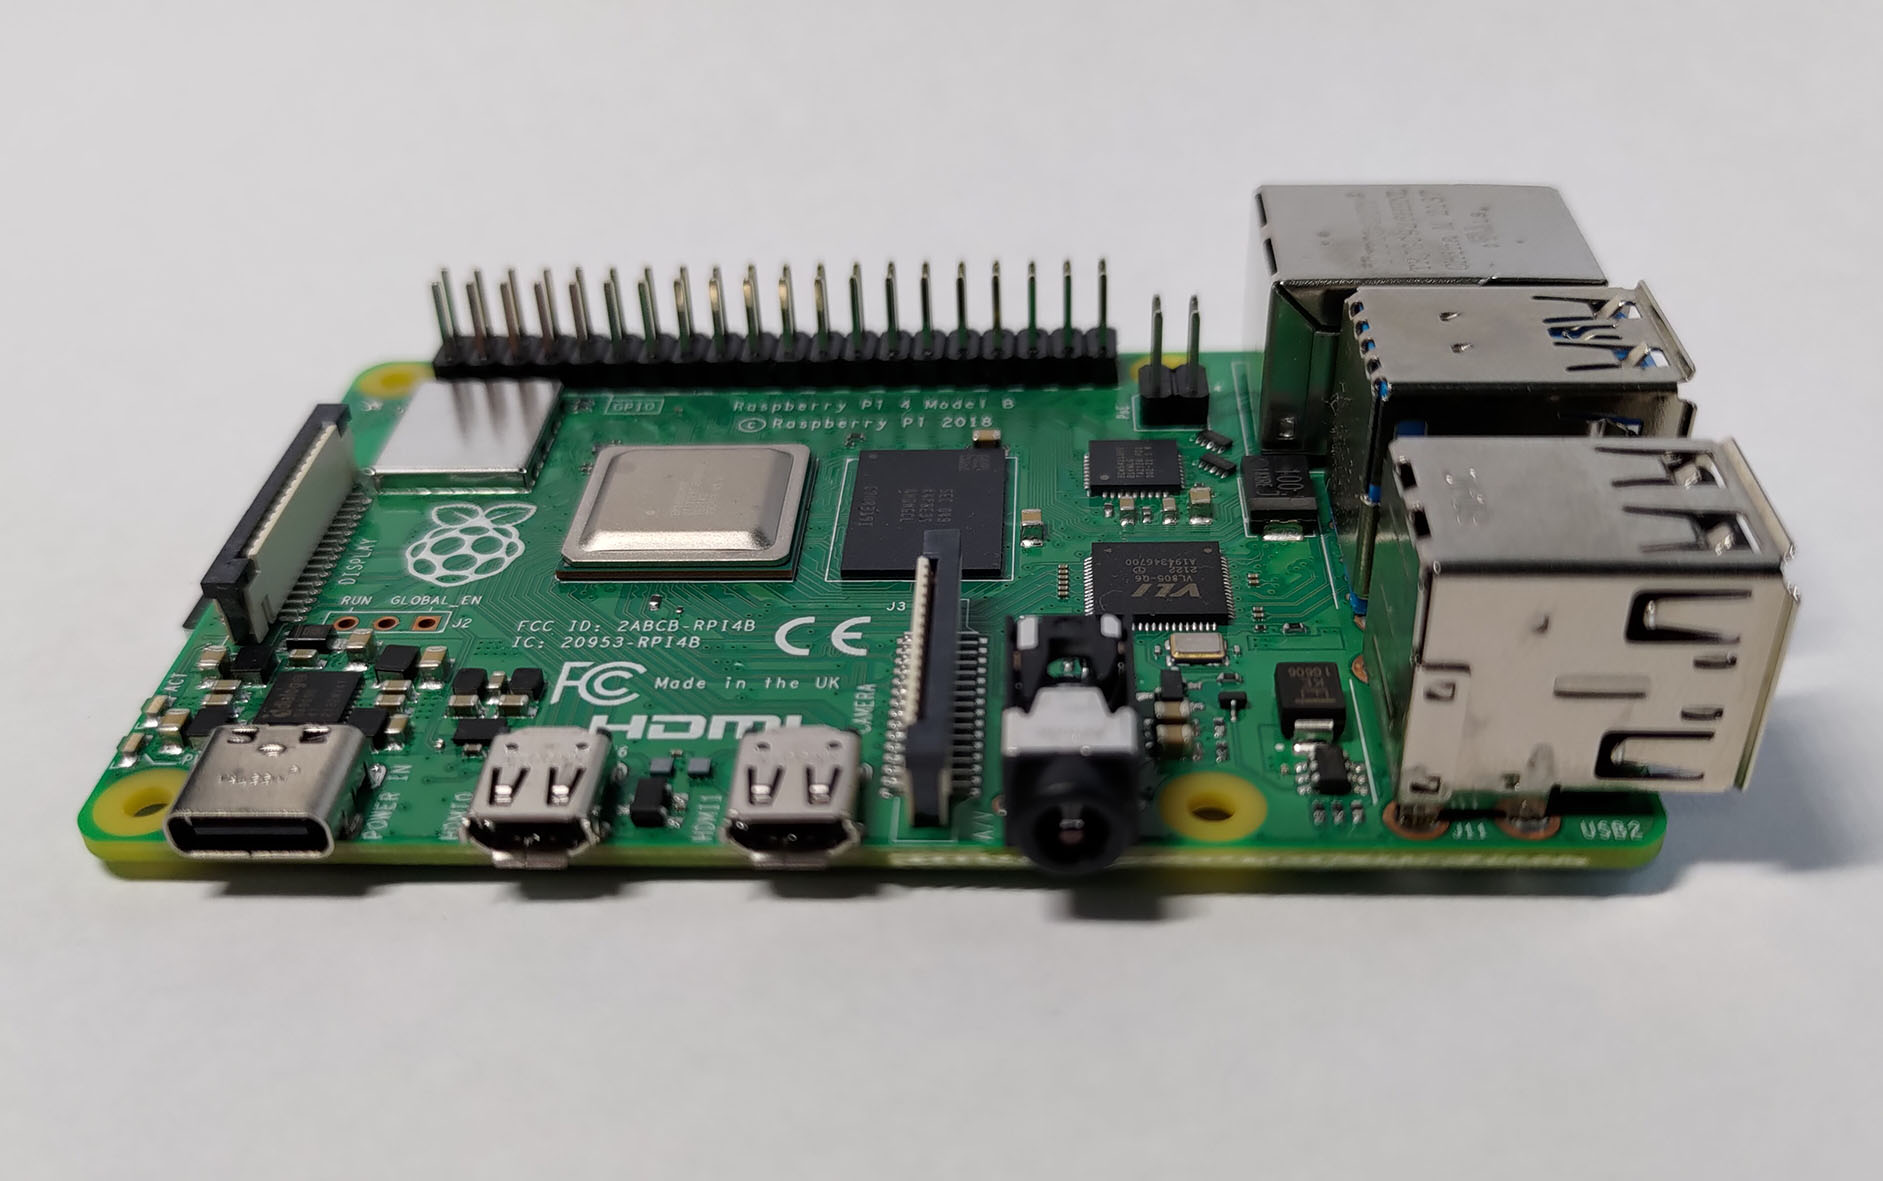
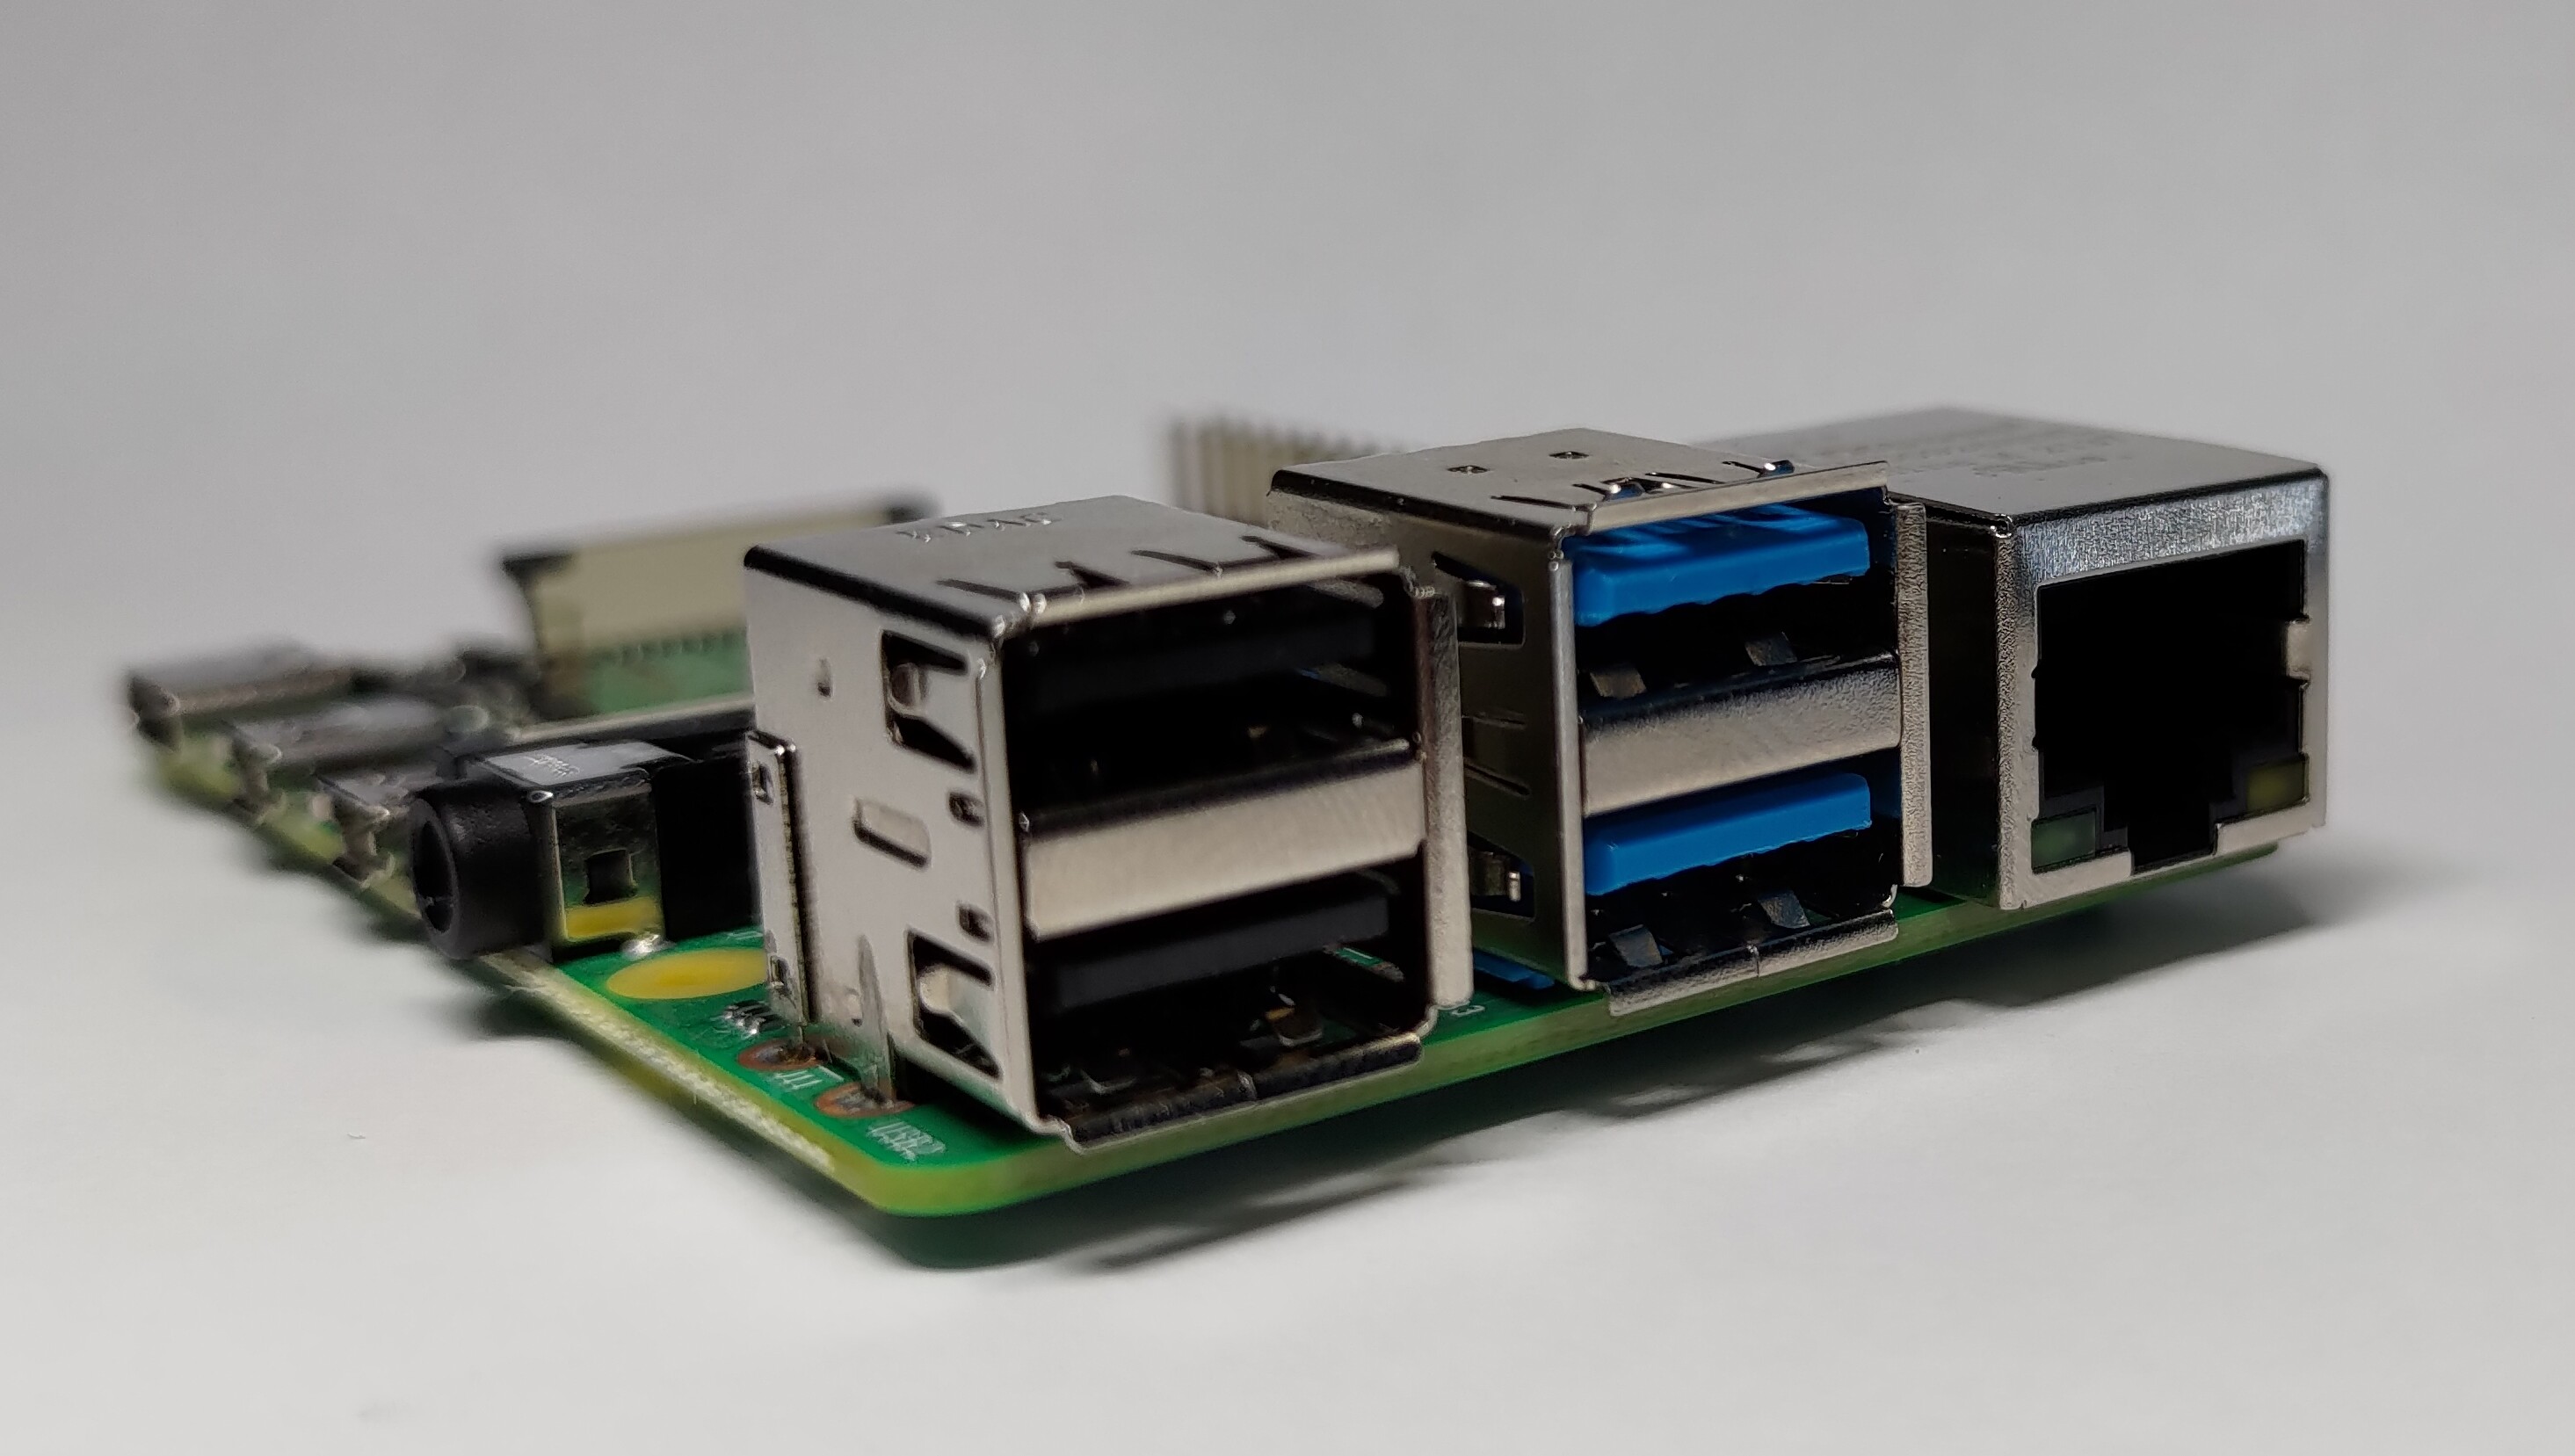
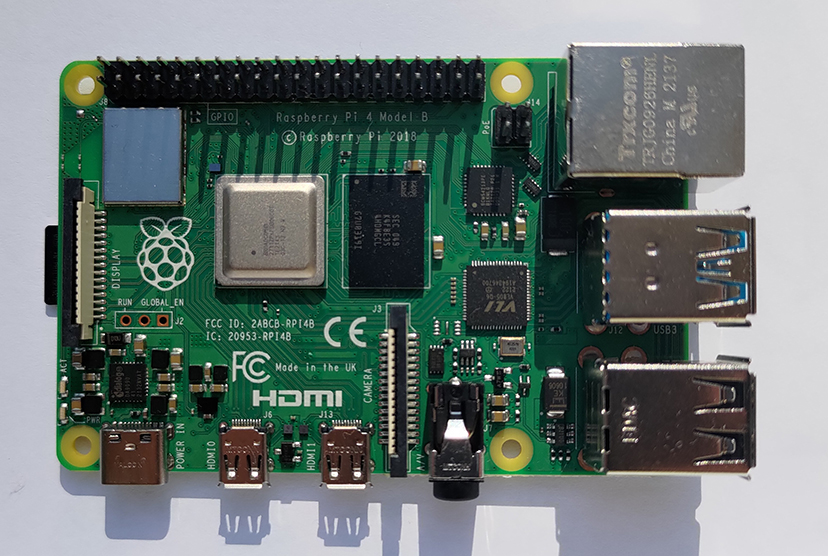
As you can see, the Pi has a pretty wide range of port on it. This means it can be used for a very wide range of applications, without needed any sort of adapters.