- Raspberry Pi 4 Model B
- USB-C Power Adapter (5V 3A)
- A network connection (WiFi or Ethernet)
- A Micro-SD card (Recommended 16GB or larger)
- A computer with an SD Card reader
Getting started
Now that we’ve had a nice look at the Pi, we can now start to get the Pi started up and running. To do this, you will need a few things.
Imaging the SD Card
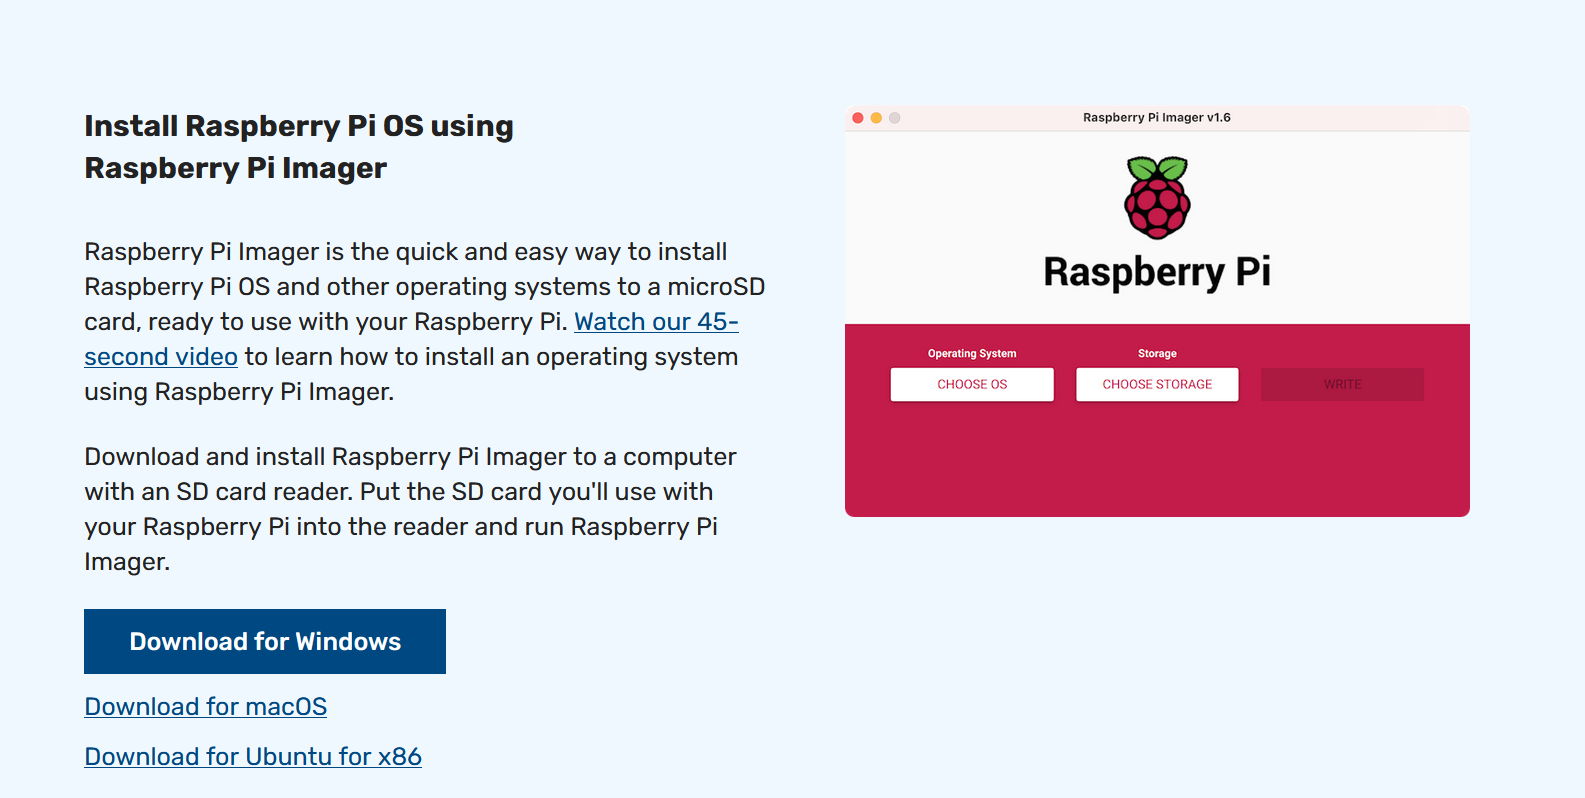
- Navigate to the Raspberry Pi Foundation website downloads page and install the Raspberry Pi Imager by downloading the installer and clicking through the prompts.
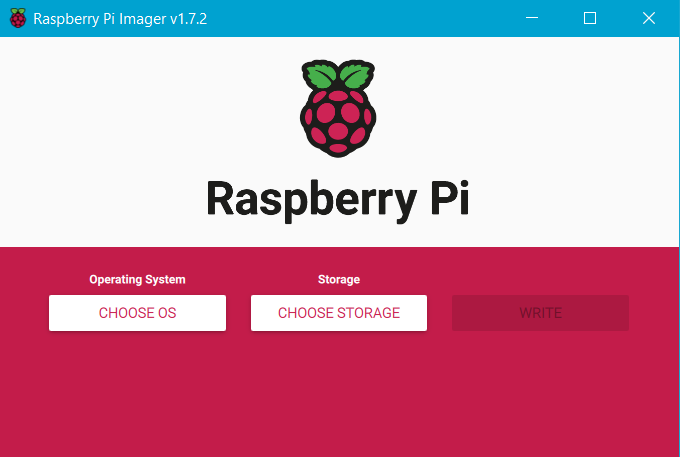
- Insert the SD card into your computer and launch the Raspberry Pi Imager.
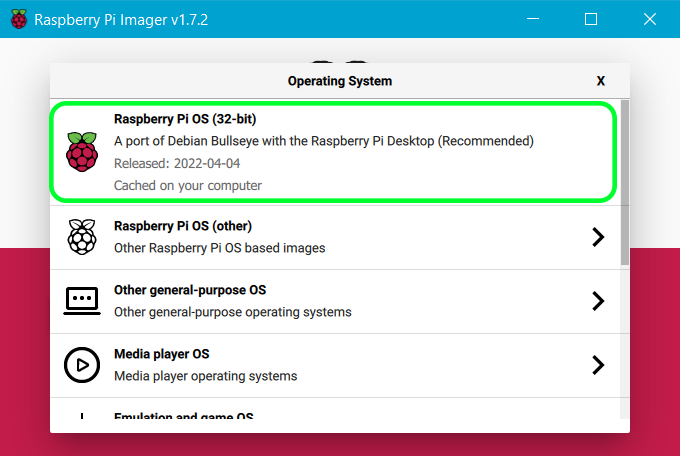
- Once the Raspberry Pi Imager appears, select “Choose OS” and click on the top Raspberry Pi OS (32 bit).
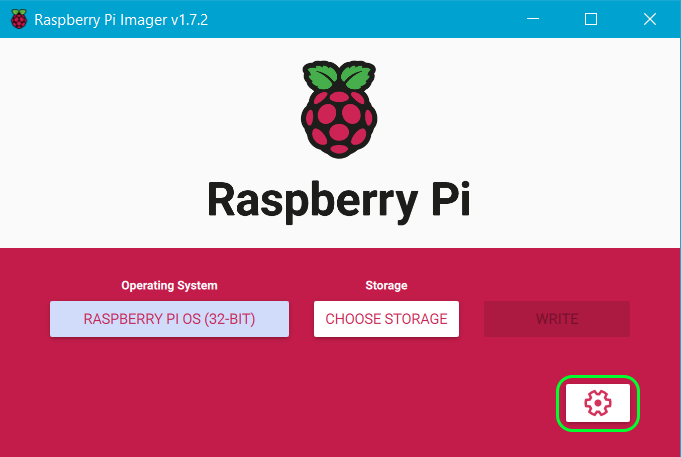
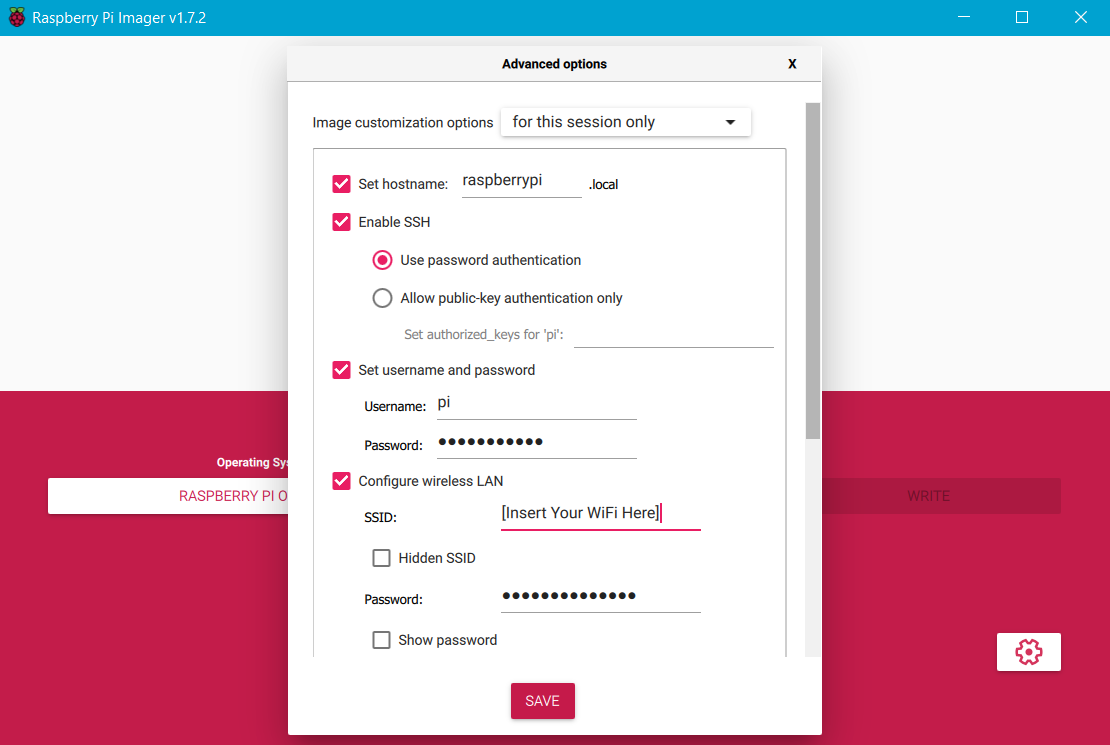
- Click on the settings cog icon in the bottom right corner. You will need to turn on SSH and set up your WiFi network if necessary in this menu. After you make these changes, click “Save”.
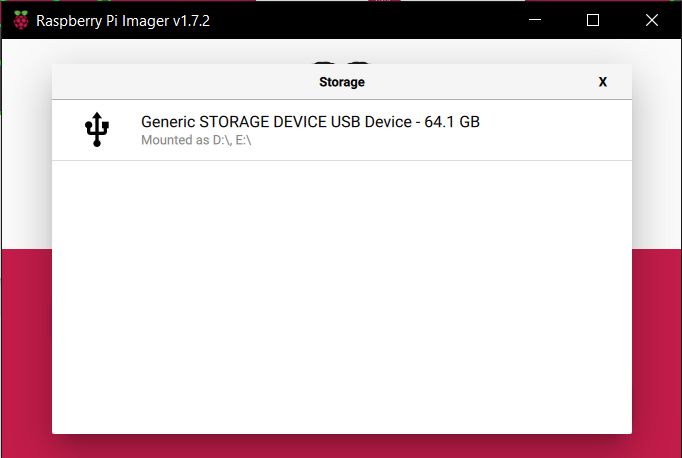
- Next, you will need to click on “Choose Storage” and select your SD card. Ensure you are writing to the correct device, as this process deletes all data on the SD Card. If you are unsure, remove all other USBs or SD Cards from the system and double-check it is reporting the correct SD card size.
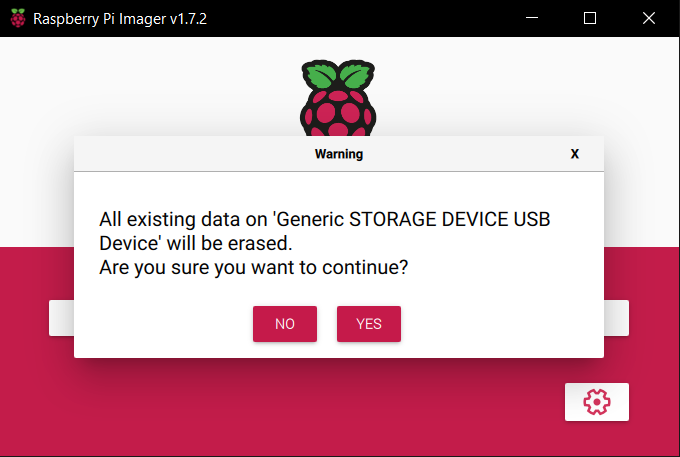
- Once you have made sure all the settings are correct, you may click on “Write”. Note that this will delete all data on this SD card and you will not be able to recover it. You can always reformat the SD card and use it with other devices again if you wish.
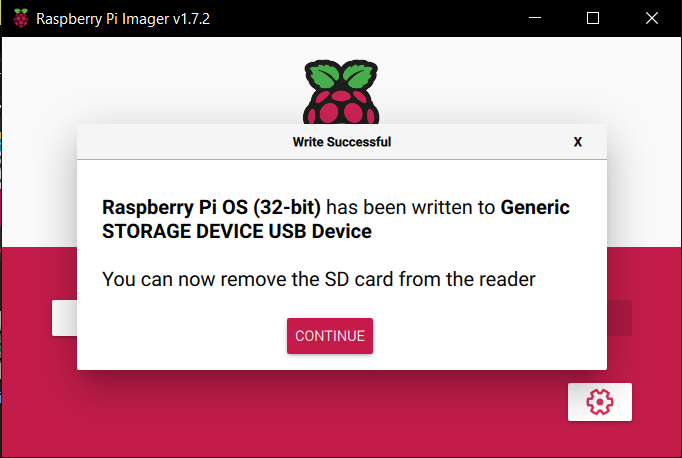
- Remove the SD card when it says to do so, and then you are done!
Starting the Pi
Now that you have prepared your SD Card, you are now ready to start up your Pi.
- Insert the SD card into the slot on the underside of the Pi
- Plug the necessary cables into the Pi. This only needs to be Ethernet (unless you’re using WiFi), and power.
- Once you plug in the Pi, a red LED should light up and green LED should start blinking.
- After a few minutes, the green LED should stop blinking or be blinking less frequently. The Pi is now setup and ready for use.